Getting to grips with nail art can be tricky, but if you're looking at how to learn some simple designs then this Blossom Gel how to guide is a great place to start.
Always begin by prepping your nails
- Use the Bluesky Nail File to file your nails to the desired shape.
- Push back your cuticles.
- Gently buff your nails with your Bluesky Nail Buffer.
- Clean your nails with a Bluesky Cleanser Wipe.
Now you can begin creating your design...
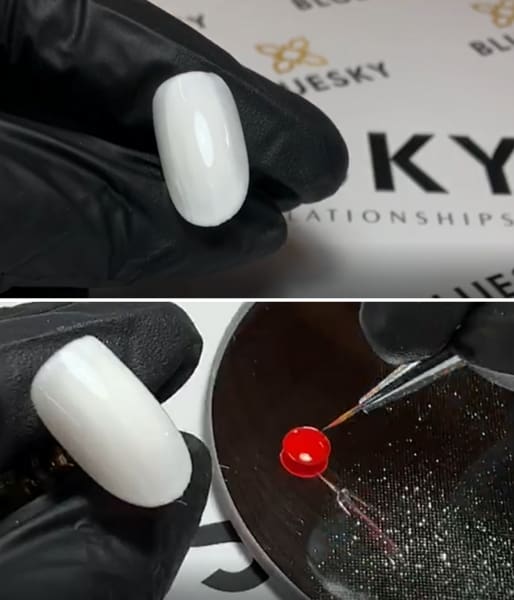
1. Start by applying one coat of Blossom Base Coat in white to your nails and cure for 60 seconds under your LED lamp.
2. Apply a second coat of Blossom Base Coat - but this time do not cure.

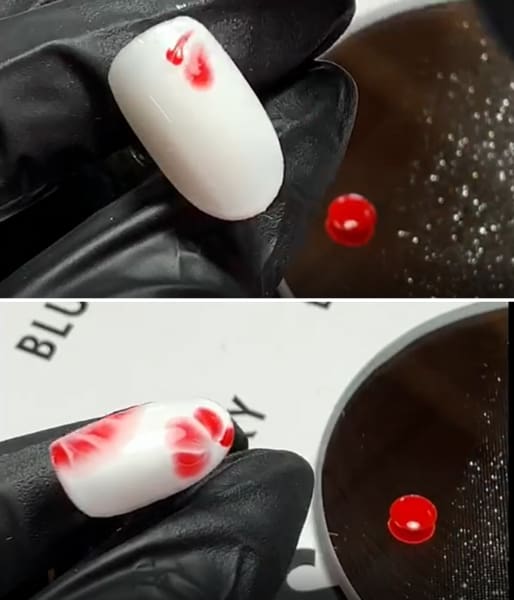
3. Using a dotting tool or a very thin nail art brush, take some Blossom Gel in your chosen colour (we've gone for red) and place 5 dots in the top left hand corner of your nail.
4. Repeat by placing a further five dots in the bottom right hand corner of your nail.

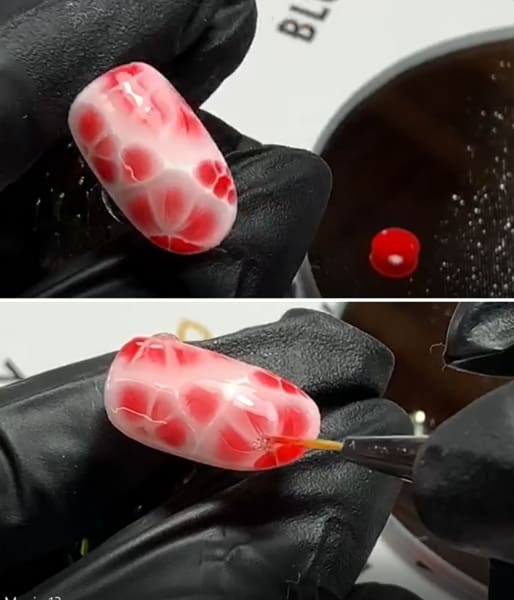
5. Apply random dots in between the flowers to fill the empty space. Remember that less is more: you don't need to apply much Blossom Gel as it will expand and 'blossom' once it hits the nail.
6. Once finished, cure your design for 60 seconds.
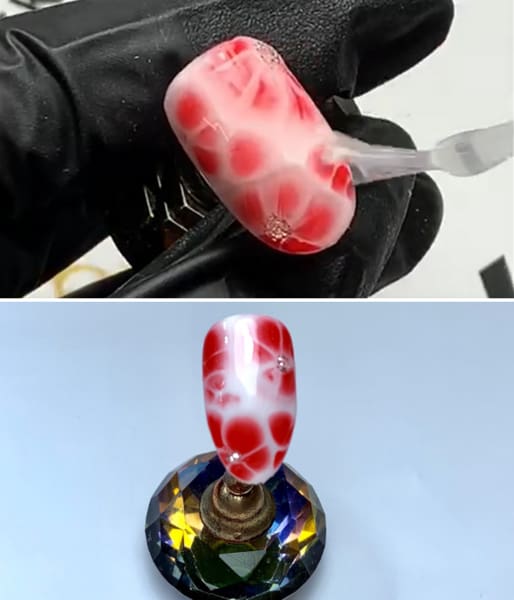
7. Apply silver glitter (this can be gel polish or gel paint) in the middle of the flowers. Cure for 60 seconds.

8. Finish with your top coat and admire your design! You can repeat the process for all nails if you wish, or use your Blossom Gel design for a feature nail on each hand and use a matching gel polish for your other fingers.

Mix & Match Gels:
Buy 6-11 and SAVE 15% / Buy 12+ and SAVE 20%

