Are your Bluesky extensions starting to lose their lustre? Perhaps you've noticed some growth at the nail bed, or maybe you're just ready for a fresh look without starting from scratch. Fear not! Infilling your Bluesky extensions is the perfect solution to keep your nails looking fabulous and well-maintained. In this guide, we'll take you step-by-step through the process of infilling your Bluesky extensions, ensuring a seamless transition and a stunning end result. Infilling can be done on any of our nail extension products including Soft Gel Tips, Builder Gel, Gum Gel, Lexan Gel, Fast & Easy Builder Gel and Hard Gel.
Step 1: Gather Your Supplies
Before diving into the infilling process, it's essential to gather all the necessary supplies. Here's what you'll need:
- Bluesky Base Coat
- Bluesky No Wipe Top Coat
- Nail File
- Nail Buffer
- Cleanser Wipes or Cleanser Solution and Lint-Free Wipes
- Cuticle Pusher
- Bluesky UV LED Nail Lamp
- Your chosen infill product
Step 2: File Down Existing Gel
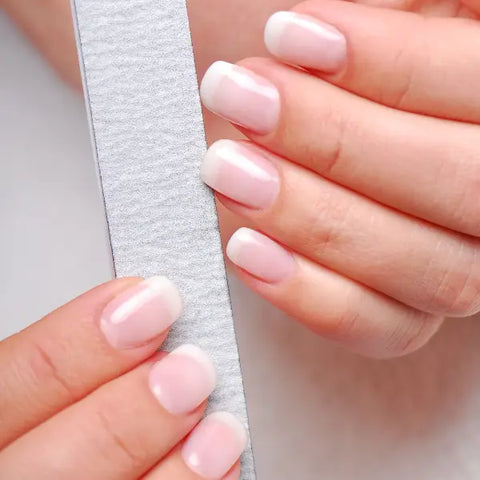
Start by gently filing down any existing gel polish from the nail using a Nail File. You ideally want to remove the majority of the existing top coat, colour coat and base coat to ensure a smooth surface for your new layer of gel. Be careful not to file too aggressively as this can weaken the nails.

Step 3: Prepare the Nail Bed & Nails
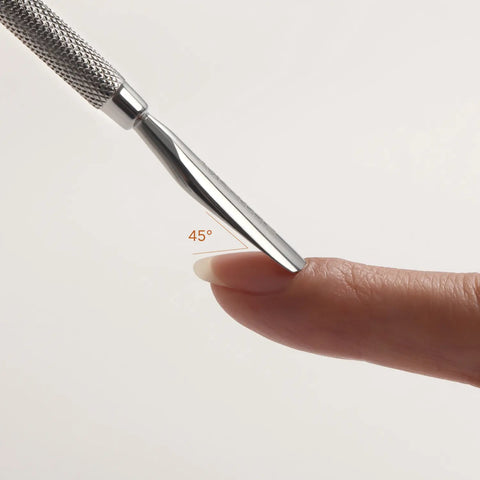
Using a Cuticle Pusher or an orangewood stick, carefully push back the cuticle and trim any dead skin. Gently buff the nail and clean with a Cleanser Wipe to remove any dust. You should now be left with a smooth, clean surface to for the infill gel to adhere to and ensure a flawless finish. Use a Primer to dehydrate the nail before continuing on to the next step.

Step 4: Infill Your Nail
You are now ready to infill your nail extension using the same product you originally used to create the extension. So for example, if you have used Fast & Easy Builder Gel use that. If you have used Gum Gel, use that etc. If you have used our Soft Gel Tips then you can use any of our nail extension products to infill, but we recommend our Fast & Easy Builder Gel for ease.
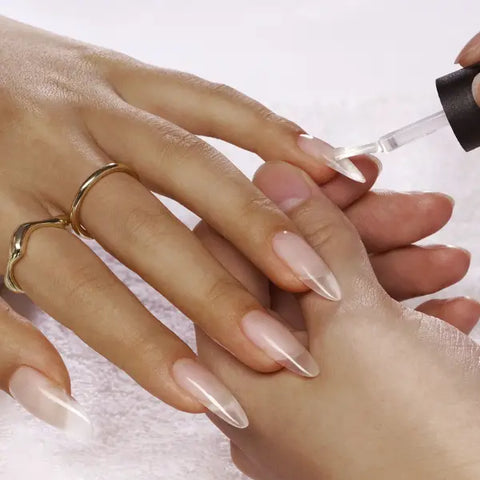
Apply a thin layer of your chosen nail extender to the apex of the nail and push it towards the cuticle, where the extension has grown out.
When you are happy with the shape, cure under the Bluesky UV LED Nail Lamp for 60 seconds.
Once the infill has cured, use a nail file and buffer to shape and smooth the surface of your nails. Pay close attention to the transition between the natural nail and the old extension, ensuring a seamless blend. Finally, clean the nail using a Cleanser Wipe.

Step 5: Apply Your Bluesky Gel Polish
You are now ready to continue the normal Gel Polish application. Starting with a Bluesky Base Coat, then your chosen Bluesky Gel, and finally a Bluesky No Wipe Top Coat. Curing between each layer. Full instructions on how to apply Bluesky Gel Polish are here.
And there you have it - a flawless infill using Bluesky nail extension products! With a little patience and practice, you can master the art of infilling and keep your nails looking fabulous for weeks to come. Happy infilling!


Joann Whitehouse
Love your products
I always put base coat when doing infills before I put the new gel on – do I not need to ? Thank you