Having salon-quality nails is easier than you think when you can do it yourself at home. Learn how to get started with gel polish nails by reading our 5 top tips below. What’s more, we’ll let you know what tools are necessary to create the perfect ‘mani’ – without the salon visit!
1. Always prep your nails.
Fail to prepare, prepare to fail! The preparation is just as important as the application; especially if you want long-lasting gel nails (who doesn’t?!)
Before you even pick your desired colour polish, make sure you’ve completed these steps:
- Sanitise your hands.
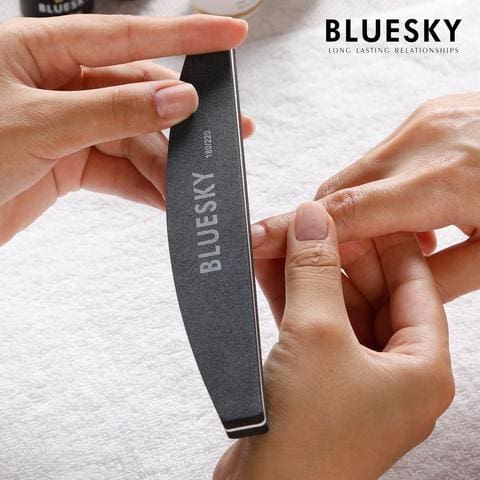
- Use the Bluesky Nail File to file your nails to your desired shape. Note: don't over file! Use gentle strokes in one direction.
- Push back your cuticles; trim them where necessary.
- Gently buff your nails with your Bluesky Nail Buffer to get the shine off your nails.
- Clean your nails with a Bluesky Cleanser Wipe.

2. Remember your base coat.
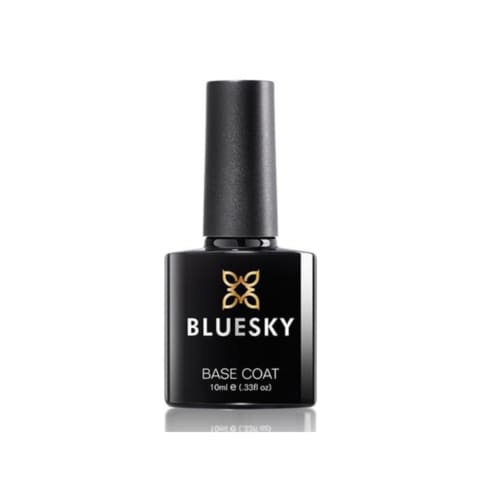
Applying a base coat before your colour is all part of the preparation. It’s the basis for a long-lasting manicure as it acts as a barrier between your nail and the gel polish. We always recommend one thin coat of Bluesky base coat every time you apply gel nail polish.
The base coat also gives the gel polish a great base, meaning it won’t peel off after a few days. Apply your base coat and cure it for 30 seconds under an LED lamp (1 minute under UV) and then you’re set and ready to go!

3. Short strokes and thin layers.
Applying each layer takes care and consideration. You should be mindful of the fact that gel nail polish is different from your classic nail varnish in that it doesn’t require a super thick coat.
Make sure each coat you apply is thin and be careful with your strokes; this will enable you to control the brush and help you stay within the lines! If you do apply a little too much, don’t worry, just make sure you wipe away any excess with a cleansing wipe before curing the nail.

4. Cap the edges.
Want to keep your gel manicure for longer? Make sure you always cap the edges! What we mean by this is, when applying each layer – including your base and top coats – make sure you seal the free edge to cover the tip of the nail. This will prevent the polish from lifting off the nail and give it better protection from chips and scratches.

5. Remove it properly – no picking!
While it may feel tempting to pick at your gel manicure to get it off, our advice is: don’t! You can cause damage to your natural nails by picking off the gel polish, which means that you can say goodbye to your nice, healthy nails!
Instead, make sure you get your hands on some Acetone remover and follow these steps:
- Gently buff your nails to remove the shine.
- Soak a cotton pad in acetone and place it on top of your nail.
- Wrap the nail and cotton pad in a small piece of foil.
- Repeat the process for all nails and wait around 10 minutes – the gel should then peel away.
- Carefully file and buff the nail as needed until all the gel polish has been removed.

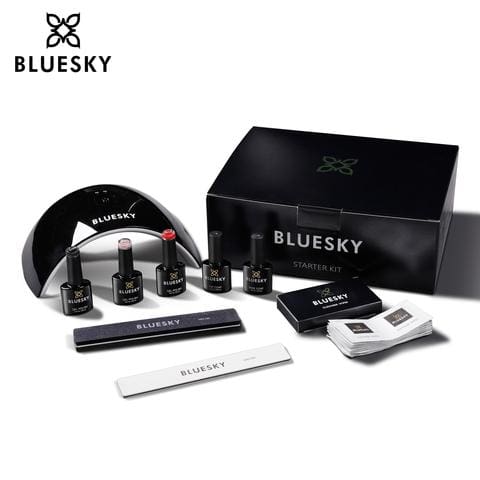
Now you know our top tips for applying and treating your gel nail manicure, it’s time to get started! Our starter kit gives you all the tools you need for your first gel manicure, including an LED nail lamp, a top and base coat, cleanser wipes, a nail file, a nail buffer and three of our best-selling gel polish colours to choose from.
Mix & Match Gels:
Buy 6-11 and SAVE 15% / Buy 12+ and SAVE 20%
Make sure you let us know how you’re getting on by dropping us a message on Facebook or Instagram, and tag us in your designs – we love to see how you’ve used your Bluesky colours!


Kangu max
I proudly appreciate the amezing work of your products most clients are addicted to them