
Ever wondered ‘is there an easier way to do this?’ When it comes to your nails, there are so many hacks that you can use for quick fixes (broken nail, anyone?), to help add extra strength to your nails, and to make your nails look the best they can be.
We’ve gathered all our favourite and most requested hacks in one place so you can skill up and become a home manicure expert!
How can I strengthen my nails?
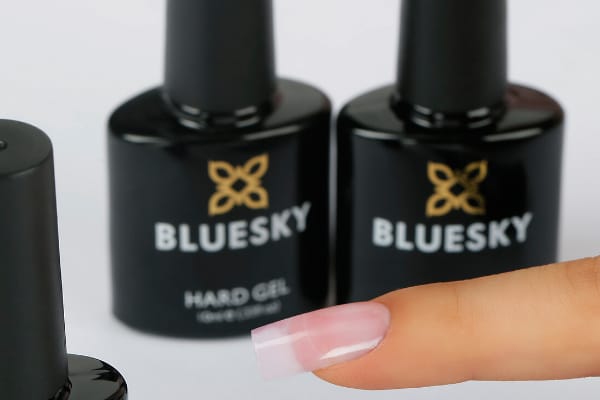
By taking good care of your nails, you’ll find they’ll naturally grow stronger and longer. But to help them on their way, you’ll need one of our most popular products for nail strengthening: Hard Gel!
Hard Gel is our ultimate nail strengthener. It can be used on its own for a natural manicure, coming in four different colours for you to choose from, as well as to add extra strength to any gel manicure.
Simply apply before your colour coat (and some of our Bluesky users like adding an extra coat afterwards, too) and you’ll instantly add extra strength to your nails. Always make sure you keep up with your Cuticle Oil, as this is a great way to take extra good care of your nails - plus it helps to stimulate nail growth.
How can I fix a broken nail?
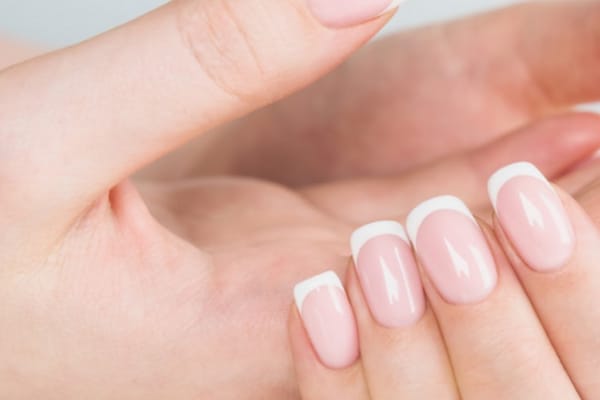
Pesky hangnail? Caught your lovely long nails in something and one of them has snagged? We’d like to present to you: the teabag trick. All you need is a teabag and your normal Bluesky Home Manicure set up!
Simply cut a small piece of the teabag – just a little larger than the break in the nail – and place it on top of the break. Using Base Coat or Hard Gel, apply to your nail as you usually would, including covering the teabag so that it sticks to your nail. Cure in your nail lamp, and repeat the process if needed.
Once finished, file and buff the nail so that the teabag blends into your natural nail. You’ll then have a smooth finish ready to go ahead with the rest of your gel manicure!
How can I make pastel and neon colours brighter?
If you’ve ever wanted to make your gel colours pop, we’ve got the solution for you – and it’s very simple!
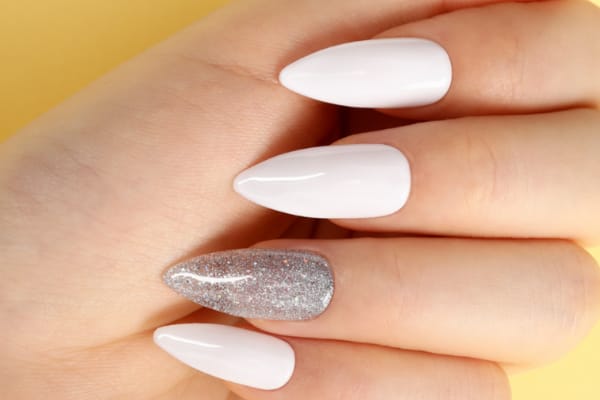
Before applying your colour coat, apply one coat of a white gel polish (our favourite is Studio White), cure as normal, then apply your pastel or neon shade to build up the depth of colour.
The result? Gorgeous, colourful nails with added brightness – thanks to one tiny trick that we know you’re going to love!
How do you apply glitter gel polish?
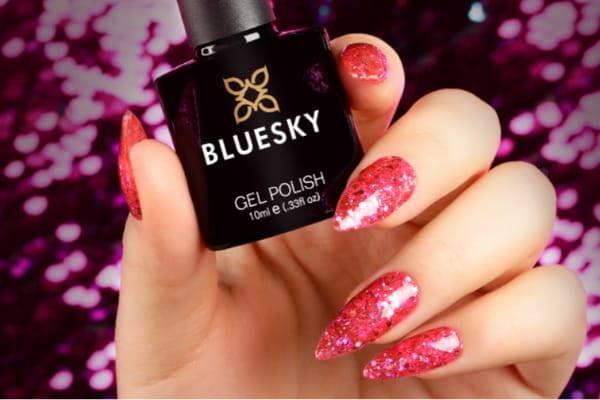
Finding it hard to get your glitter gel polish even? The key is patience! First up, make sure your coats are thin. Just like with your normal gel colour coat, you’re going to want to build up the glitter gel rather than going in with a super thick coat – this will just end up with lumpy, uneven nails. And that’s not a good look.
Apply your first coat and cure. When you go to apply your second coat, you’ll want to dab or dot the glitter on to fill in the gaps. You can keep dabbing the gel on until you have filled the gaps. When using chunky glitters (like Ibiza), you can also use a cuticle stick or a thin nail art brush to move the glitter pieces around to help fill in the gaps and build up the coverage to your liking.
How can I get rid of ridges on my fingernails?
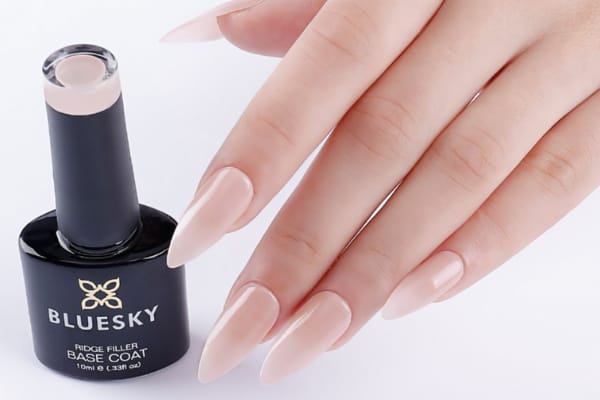
If you struggle with uneven nails, you may find that gel polish doesn't adhere very well either. By using a Ridge Filler Base Coat, you can make sure that the ridges in your nails are filled in, meaning the rest of your manicure will be smooth and even!
You can use our Clear Ridge Filler for the most natural look, to work in the same way as or classic Bluesky Base Coat. You can also use our new coloured Ridge Fillers, which can also be used as a colour coat on their own for a natural manicure when you want to save time but still have lovely looking nails!
Want us to help you out with some more hacks? Let us know what you want some help with by getting in touch on Facebook or Instagram, or by commenting below!
Julie Hughes
very useful information. Thank you 😊